 Save to Pinterest
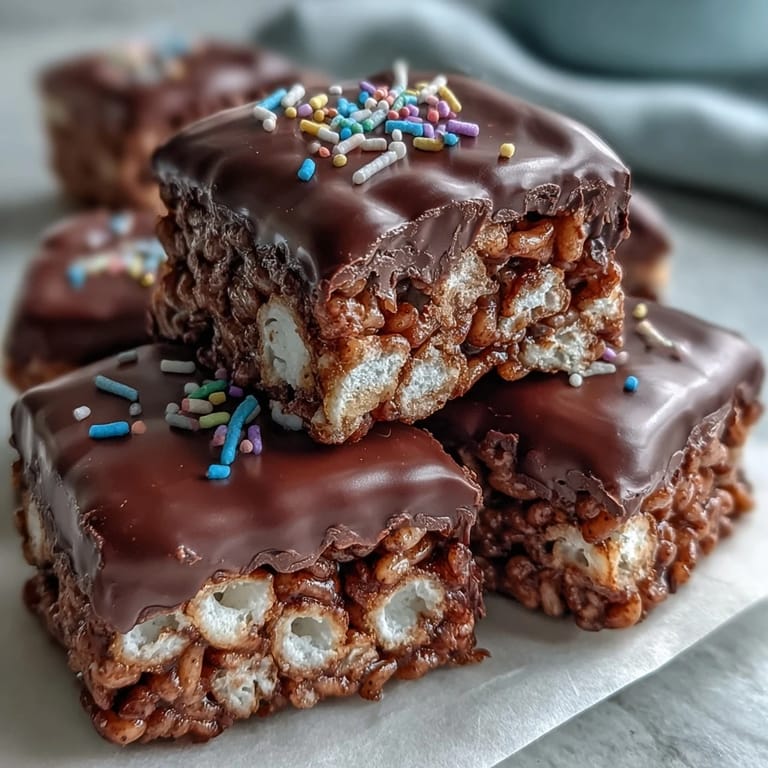
 My nephew knocked over the entire tray of plain rice cereal bars at his birthday party, and while I was sweeping up the mess, his mom suggested we just dip the survivors in chocolate. What started as damage control turned into the most requested treat at every family event since. The chocolate shell transforms something simple into something that feels indulgent, and honestly, I haven't made them any other way in three years. Kids line up, adults pretend they're just grabbing one for the road, and I always double the batch now.
I brought a pan of these to a potluck once, cut into neat squares and stacked in a pyramid. By the time I turned around to grab a plate, half were gone and someone was asking if I sold them. That moment taught me that presentation matters, even with nostalgic cereal treats. Now I always drizzle extra chocolate on top in a zigzag pattern, and people assume I spent hours when it took ten extra seconds.
Ingredients
- Unsalted butter: Greasing the pan and your hands prevents sticky disasters, and using unsalted lets you control the saltiness without competing with pre-salted varieties.
- Mini marshmallows: They melt faster and more evenly than the large ones, which means less stirring and a smoother binding mixture.
- Rice Krispies cereal: The signature snap, crackle, and structure, though any crisp rice cereal works if you're in a pinch.
- Fine sea salt: Just a pinch deepens the sweetness and keeps the treats from tasting one-dimensional.
- Semisweet or dark chocolate chips: Semisweet balances the sugar, while dark adds a sophisticated edge that adults appreciate.
- Vegetable oil or coconut oil: A teaspoon thins the chocolate just enough for a glossy, smooth pour without making it greasy.
- Rainbow sprinkles or chopped nuts: Sprinkles add whimsy and color, nuts bring crunch and grown-up flair.
Tired of Takeout? 🥡
Get 10 meals you can make faster than delivery arrives. Seriously.
One email. No spam. Unsubscribe anytime.
Instructions
- Prep the pan:
- Grease your 8x8-inch or 9x9-inch pan thoroughly with butter, getting into every corner so the mixture releases cleanly later. If you have parchment paper, line it with some overhang for easy lifting.
- Melt the butter:
- In a large saucepan over low heat, melt the butter slowly, stirring constantly to keep it from browning or separating. Low and slow is the key here.
- Add marshmallows:
- Toss in the mini marshmallows and keep stirring until they melt into a smooth, glossy cloud. It takes a few minutes, but you'll know it's ready when there are no lumps left.
- Season the mixture:
- Remove the pan from heat and stir in the sea salt if you're using it. This is also when you'd add a splash of vanilla extract if you want that extra warmth.
- Fold in cereal:
- Add the Rice Krispies and gently fold with a spatula until every piece is coated in marshmallow. Don't crush the cereal, just turn it over and over until it's uniform.
- Press into pan:
- Transfer the mixture to your prepared pan and press it down evenly using a buttered spatula or your buttered hands. Firm pressure makes dense bars, light pressure keeps them airy.
- Cool briefly:
- Let the bars sit at room temperature for about 10 minutes so they firm up just enough to support the chocolate layer.
- Melt the chocolate:
- Combine chocolate chips and oil in a microwave-safe bowl, then heat on medium power in 30-second bursts, stirring after each interval until smooth. Rushing this step leads to seized chocolate, so be patient.
- Pour and spread:
- Pour the melted chocolate over the cooled cereal base and spread it evenly with an offset spatula or the back of a spoon. Work quickly before it starts to set.
- Add garnish:
- Immediately scatter rainbow sprinkles or chopped nuts over the wet chocolate so they stick. If you wait too long, they'll just roll off.
- Set the chocolate:
- Let the treats sit at room temperature for at least an hour, or pop them in the fridge for 20 to 30 minutes if you're in a hurry. The chocolate should be firm to the touch.
- Cut into bars:
- Once set, lift the block from the pan using parchment overhang or invert it onto a cutting board. Use a sharp knife to cut into 12 to 16 bars, wiping the blade between cuts for clean edges.
 Save to Pinterest
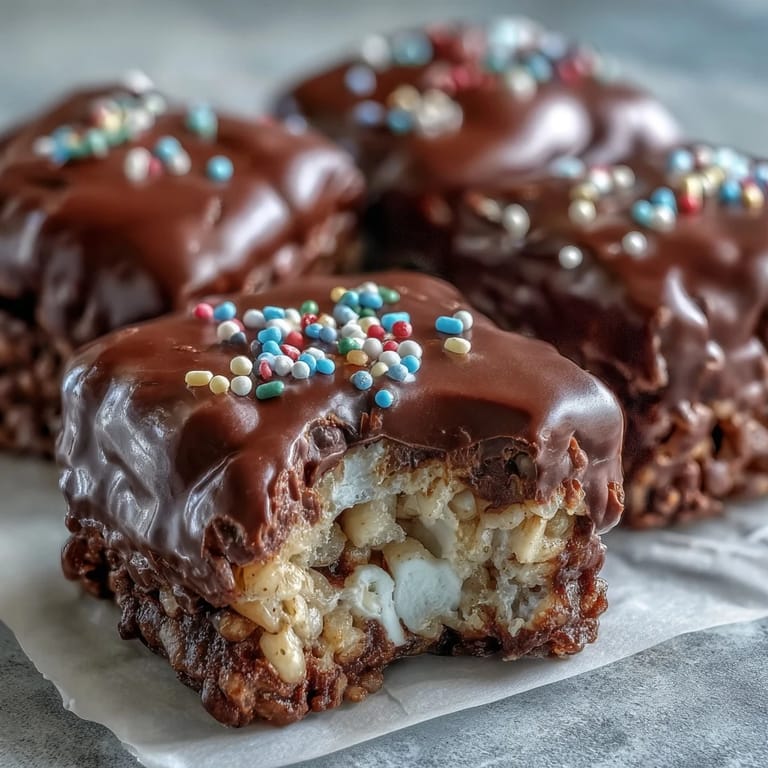
 My friend once told me these reminded her of the treats her grandmother used to make, except fancier. She didn't realize they were the same base recipe until I showed her the box of cereal in my pantry. That's the magic of a chocolate coating, it turns something familiar into a memory people want to hold onto. Now every time I make them, I think about how a small upgrade can make someone feel special.
Storing and Keeping Them Fresh
These bars stay perfect in an airtight container at room temperature for up to three days, though the chocolate may develop a slight bloom in warm kitchens. If you need them to last longer, stack them between sheets of parchment in the fridge for up to a week. Just let them sit out for ten minutes before serving so the chocolate isn't rock hard. I've never had a batch last that long, but it's good to know you can make them ahead for a party or bake sale without worrying.
Flavor Twists Worth Trying
Swapping semisweet chocolate for white chocolate and adding pastel sprinkles turns these into an instant Easter or baby shower hit. You can also stir a tablespoon of peanut butter into the melted marshmallows for a nutty undertone that pairs beautifully with dark chocolate. Once I folded in a handful of mini chocolate chips with the cereal, and the extra pockets of melted chocolate made them dangerously good. Don't be afraid to experiment, the base is forgiving and almost every variation I've tried has been a winner.
Cutting Clean Bars Every Time
A sharp knife dipped in hot water and wiped dry between each cut gives you bakery-style edges without jagged chocolate shards. If you're making these for a party, cut them into smaller squares so people can grab two without feeling guilty. I also learned that chilling the whole pan for 15 minutes before cutting makes the process faster and cleaner, especially if your kitchen runs warm.
- Use a ruler to mark even portions before you start cutting for uniform bars.
- Wipe the knife with a damp towel between slices to prevent chocolate buildup.
- Store cut bars in a single layer if possible to keep the chocolate from scratching.
 Save to Pinterest
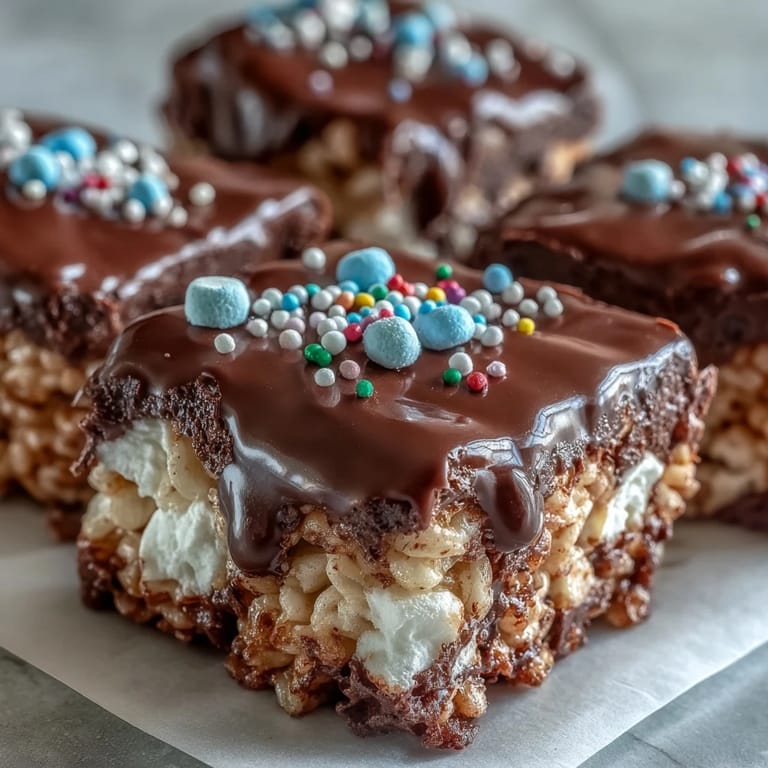
 These treats prove that the best recipes don't have to be complicated, they just have to make people smile. Whether you're feeding a crowd or sneaking one for yourself at midnight, they deliver every single time.
Recipe Q&A
- → How long do these treats stay fresh?
Store in an airtight container at room temperature for up to 3 days, or refrigerate for up to a week for extended freshness.
- → Can I use white chocolate instead?
Absolutely! White chocolate works beautifully and creates a lovely contrast. Pair with pastel sprinkles for a festive variation.
- → Why add oil to the chocolate?
The oil helps the chocolate melt smoothly and creates a glossy, professional-looking finish that sets firmly without becoming too hard.
- → How do I prevent the marshmallow mixture from sticking?
Butter your spatula or hands lightly before pressing the mixture into the pan. This prevents sticking and helps create an even layer.
- → Can I make these ahead of time?
Yes! These bars actually improve after sitting for a few hours as the flavors meld. Make them up to 2 days before serving.
- → What's the best way to cut clean squares?
Let the chocolate set completely at room temperature or in the fridge. Use a sharp knife and wipe it clean between cuts for neat edges.