 Save to Pinterest
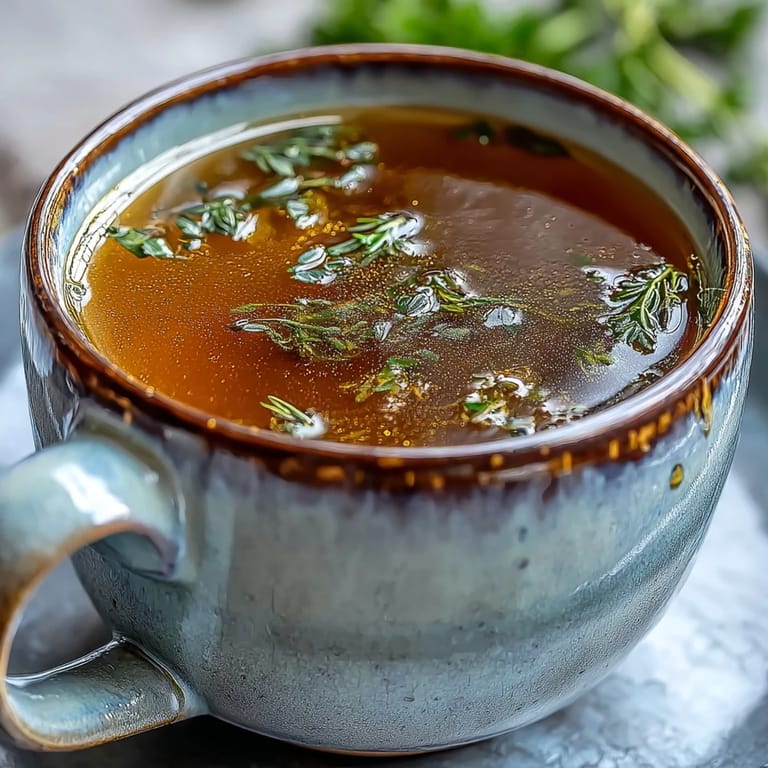
 Transforming kitchen scraps into a nourishing, flavorful homemade broth is one of the most rewarding ways to practice sustainable cooking. This liquid gold turns simple trimmings and aromatic herbs into a versatile foundation for any soup, stew, or risotto, proving that even the most modest ingredients can create something extraordinary.
Save to Pinterest Instead of tossing your vegetable trimmings, keep a dedicated bag in your freezer to collect them over time. Once you have enough, this simple method allows you to simmer those scraps into a rich, golden broth that captures the pure essence of the vegetables.
Ingredients
Tired of Takeout? 🥡
Get 10 meals you can make faster than delivery arrives. Seriously.
One email. No spam. Unsubscribe anytime.
- Vegetable Scraps
- 5–6 cups assorted vegetable trimmings (carrot peels, onion skins, celery ends, leek tops, mushroom stems, garlic skins, parsley stems, etc.)
- Aromatics & Seasoning
- 2 bay leaves
- 8–10 whole black peppercorns
- 2 cloves garlic (optional, smashed)
- 1 small handful fresh parsley or thyme sprigs (optional)
- 1–2 teaspoons salt (to taste)
- Water
- 2 liters (8 cups) cold water
Instructions
- Step 1
- Gather clean, fresh vegetable scraps. Avoid bitter vegetables like broccoli, Brussels sprouts, or large amounts of cabbage.
- Step 2
- Place the scraps, aromatics, and salt into a large stockpot. Pour in the cold water.
- Step 3
- Bring to a gentle boil over medium-high heat, then reduce to a simmer.
- Step 4
- Simmer uncovered for 1 hour, occasionally skimming foam from the surface.
- Step 5
- Taste and adjust salt if needed.
- Step 6
- Strain the broth through a fine-mesh sieve or cheesecloth, discarding solids.
- Step 7
- Cool and store in airtight containers in the refrigerator for up to 5 days, or freeze for up to 3 months.
Zusatztipps für die Zubereitung
The best broths come from a variety of scraps; focus on carrots, onions, leeks, and celery for a balanced base. Always wash your vegetables thoroughly before peeling so your scraps start clean and ready for the pot.
Varianten und Anpassungen
For an extra boost of savory flavor, add a piece of dried kombu or some mushroom stems. To keep the flavor profile clean and sweet, avoid adding cruciferous vegetables like cauliflower, cabbage, or broccoli, as these can introduce bitterness.
Serviervorschläge
This broth is perfect as a base for hearty vegetable soups or for cooking grains like quinoa and rice. It is also light enough to be enjoyed on its own as a warm, nourishing sipping broth on a cold day.
 Save to Pinterest
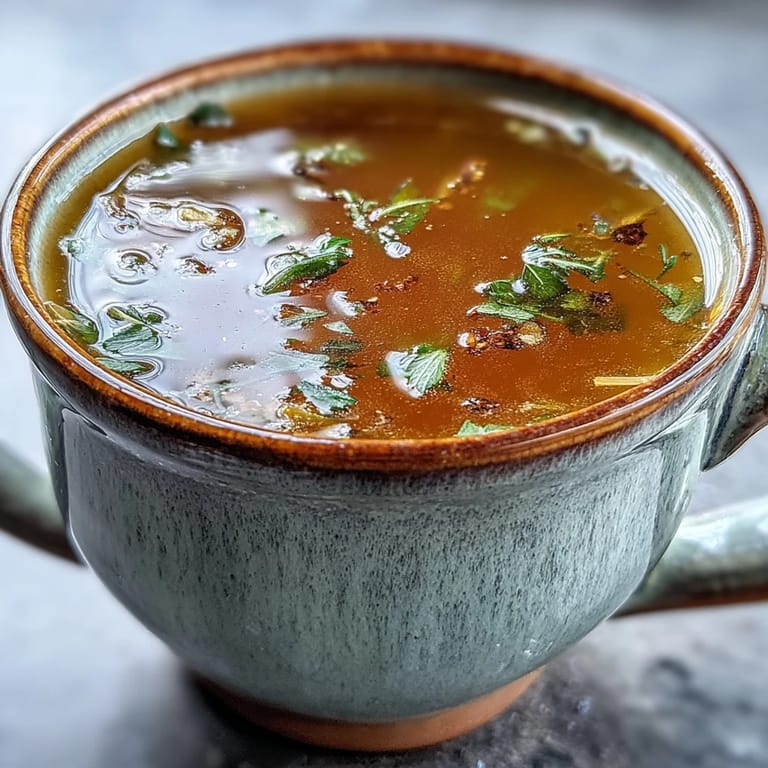
 With minimal preparation and an hour of simmering, you can transform kitchen trimmings into an essential pantry staple. This zero-waste recipe ensures that no part of your produce goes to waste while providing a healthy, delicious base for your favorite recipes.
Recipe Q&A
- → What vegetables work best for homemade broth?
Carrot peels, onion skins, celery ends, leek tops, mushroom stems, garlic skins, and parsley stems create the most flavorful base. Avoid cruciferous vegetables like broccoli, cauliflower, and cabbage as they can make the broth bitter.
- → How long can I store vegetable scraps before making broth?
Store scraps in a sealed bag or container in the freezer for up to 3 months. Simply add trimmings as you cook until you have enough accumulated, then proceed with the broth-making process.
- → Can I customize the flavor profile?
Absolutely. Add kombu seaweed or dried shiitake mushrooms for deeper umami notes. Fresh herbs like thyme, rosemary, or bay leaves enhance aroma. Adjust salt to taste, and consider adding whole peppercorns for gentle warmth.
- → What's the best way to strain the broth?
Use a fine-mesh sieve for a clear result, or layer cheesecloth inside for extra clarity. For an even smoother consistency, strain twice, pressing gently on solids to extract all liquid without forcing pulp through.
- → How should I store the finished broth?
Cool completely before transferring to airtight containers. Refrigerate for up to 5 days, or freeze in portion-sized containers for up to 3 months. Consider freezing in ice cube trays for easy addition to sauces and grains.